SD Card Image file
The image file is compressed with winrar. The size is 8 gigabytes, so if you have a FAT32 formatted windows drive where you want to download the file that is not suitable, because it can only handle 4GB files. NTFS formatted drive is needed which is default in windows 7 & 10. I have plans to make a smaller image file, but that is not the top priority at the moment.
The device uses the default OS of the Raspberry Pi: Raspbian Stretch Lite (Linux). I’ve modified it a little and added some custom software for the bud photography.
There are security issues so I don’t recommend to use it 0/24 online!!
(eg. The default password is not changed, the files are easy to modify, etc.)
Use Win32DiskImager or Etcher to write the image file to your SD card. At least you need a 8GB SD card. A larger one is also suitable, in order to use the space above 8 GB you have to expand the filesystem on your RPi device. Without expand you can only use 8GB. Anyway, 8 GB is also enough for thousands of photos 🙂
Here’s some more detailed info if you need some help on installing the OS:
https://www.raspberrypi.org/documentation/installation/installing-images/README.md
3D printed camera box
To hold the camera in position a 3D printed case is needed. Below you can download a recommended one. At the moment the case is a bit week, so be careful, it can be easily broken. Soon I will make it more robust. On thingiverse.com there’s a lot more RPi camera holder.
Additionally you will need:
- Little glass to cover the Camera lens to make it full weatherproof
Around 25 x 25 millimeters, 2mm thick is enough - Silicone to make the Camera box weatherproof and to fix the glass. Not every 3D printing material is water repellent!
Refocusing the Raspberry Pi camera
The camera is a fixed lens one, focused to infinity. The lens is glued to a fixed position. If you want bud photography you need to cautiously broke the glue and refocus the lens to a closer eg. 5-8 cm distance. Here are some videos from youtube on how to do this:
Powering the Raspberry Pi from 18650 Li-Ion batteries
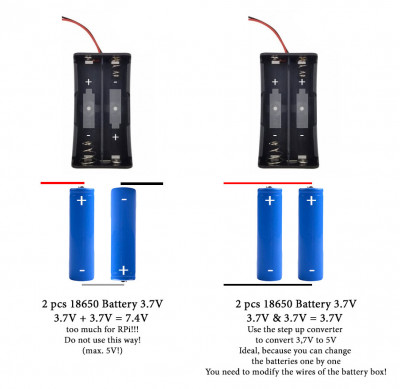
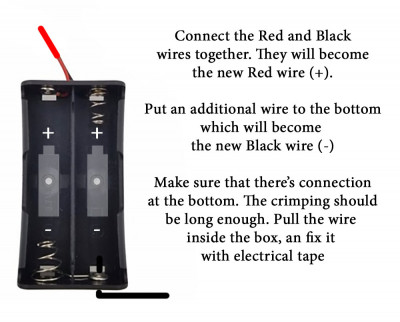
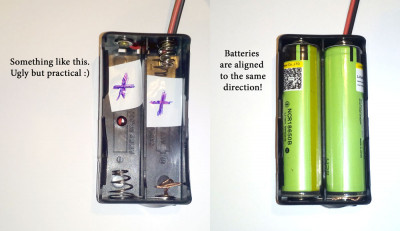
The battery case should be modified accordingly to the photos. Raspberry Pi optimal voltage is 5V. Do not give more power! Less can also work.
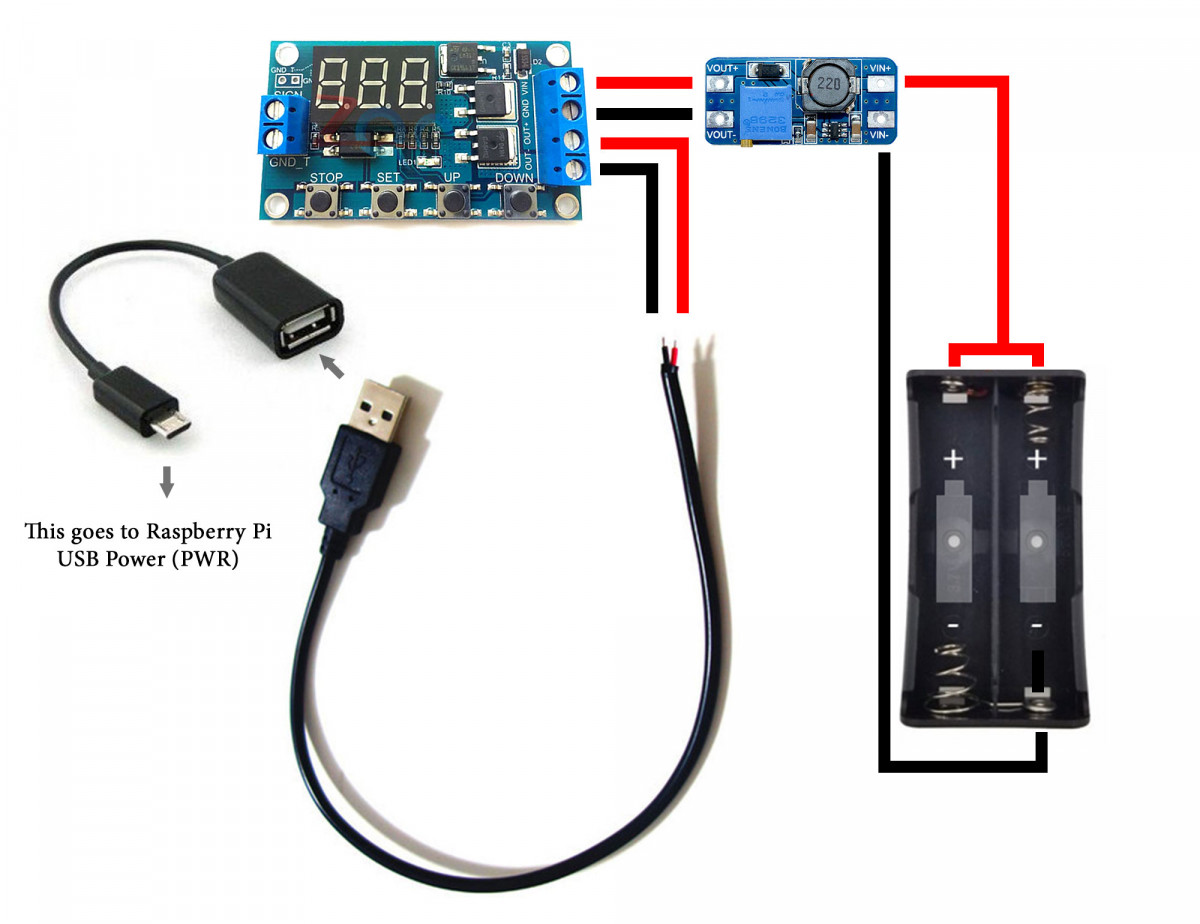
If you use the battery case as normal, the voltage adds together and that is too much for the Pi. In that case a step down converter needed. I’ve didn’t tested this way. Insted of this, I’ve modified the case a little, so it gives 3,7V which is needed to convert to 5V with a step up converter. This is ideal, because you can change the batteries one by one and you won’t break the power connection.
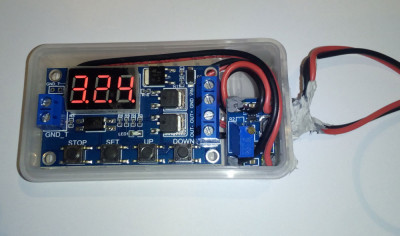
Rotate the tiny wheel on the step up converter to modify the outgoing voltage. Use a voltage meter to measure the 5V. You can use only one micro USB to power the RPi, but in this way it’s more flexible. Later on you will see why.
Assembling the parts
If you have an RPi without pins, solder the additional GPIO pins onto the Raspberry Pi as shown in the video below:
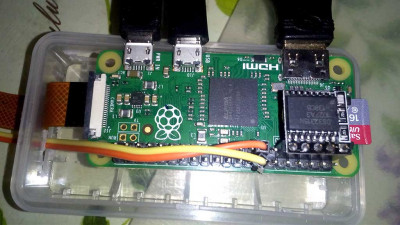
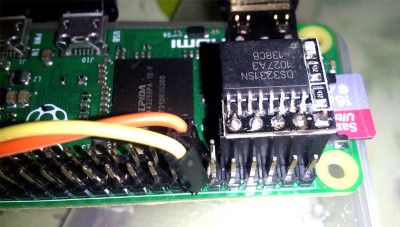
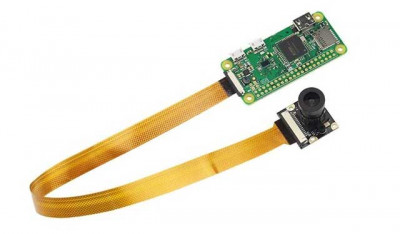
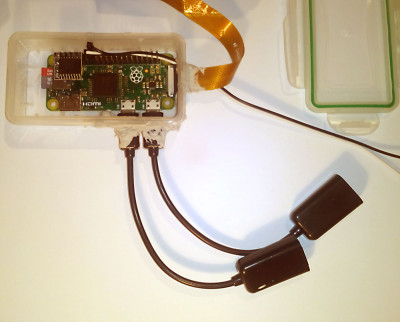
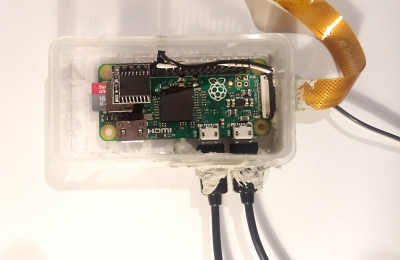
The two wire is optional, they control the additional led lightning in the dark. The small 5 pin clock needed for the RPi to know the exact time and save it into the filename. Without this module as the RPi shuts down it lost the time. Connect the camera wire as the photo shows. The wire black sides goes to the black sides of the connectors.
Boxing the Raspberry Pi to make it weatherproof
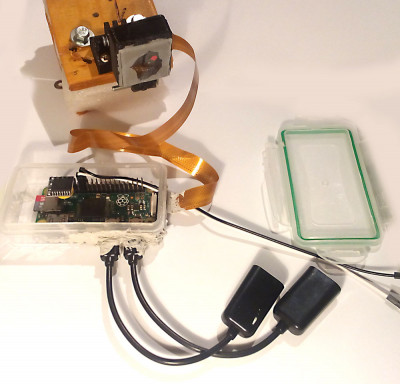
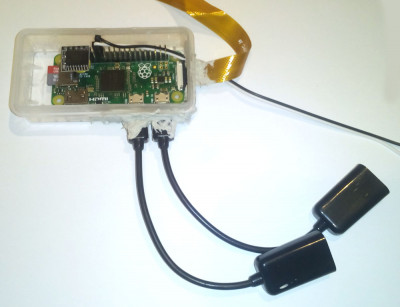
I use these cheap battery boxes to put the RPi and the controls into. Cut holes, and cut off the annoying parts of the plastic. Use silicone to fill the holes.
Programming the timer
- Giving electricity to the timer will turn it on.
- Pressing the SET button will show you the current programming:
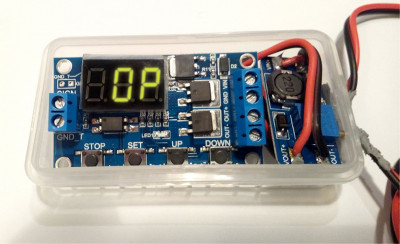
OP xxx – Turned on for this time
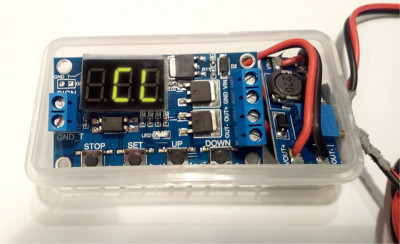
CL xxx – Turned off for this time (waiting)
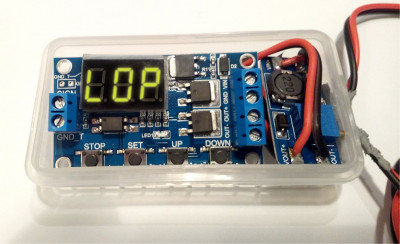
LOP xxx – Number of loops (- – – is inifite loop)
The position of the dot(s) controls the unit as follows:
X.X.X. means minutes (eg. 0.0.5. equals to 5 minutes)
X X X. means seconds (eg. 1 2 3. equals to 123 seconds)
X X.X means tenths of second (eg. 0 0. 5 equals to half second) - Turn on with STOP
- Hold long SET to modify the default program
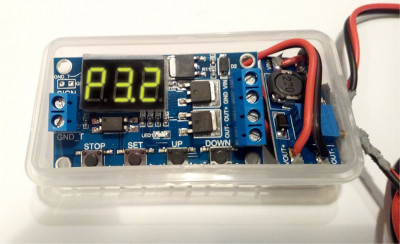
- Select P3.2 with UP/DOWN buttons and save with the SET button
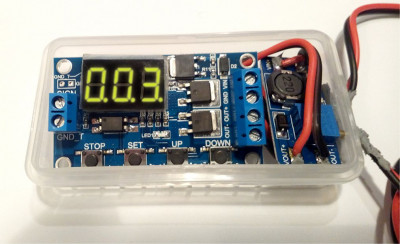
- Set OP to 0.0.3. (minutes) – You can control the dot position (unit) with the STOP button
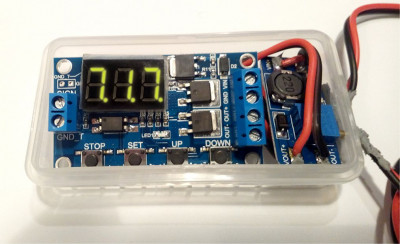
This controls the time while the RPi is turned on. 3 minutes is more than enough for a photo. - Set CL to 7.1.7. (minutes) –
This controls the time while the timer waits for the next powering. Maximum amount is 999 minutes.
Alway subtract the amount of turned on time – 3 minutes!
1 day = 1440 minutes (cannot set, maximum 999 minutes)
half day = 720 minutes (set 717 minutes) – two photo per day
quarter day = 360 minutes (set 357 minutes) – four photo per day - Set LOP to – – –
(this means infinite loop) - At the end hold long SET
- Turn off with STOP button
- Turn on with STOP button
Enable sleep mode to save battery power:
- Turn on the device
- Press the STOP button for 2 seconds
- O-d mode means the sleep mode is OFF
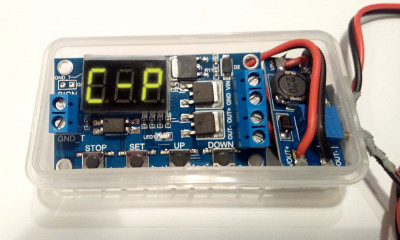
- C-P mode means the sleep mode is ON
Turn on the sleep mode. In this mode the device will turn off the display after 5 minute inactivity to save power.

